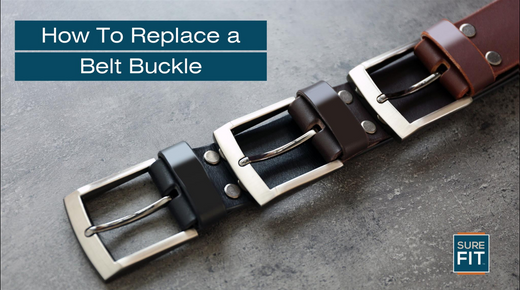
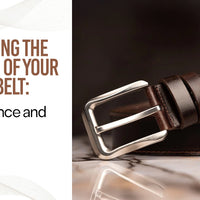
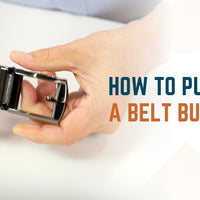
Replacing a belt buckle might seem like a minor task, but it can completely transform the look of your belt, prolong its life, or repair a damaged part without having to buy a new one. Whether you're switching out the buckle for fashion purposes or due to damage, this guide will walk you through the process, ensuring a hassle-free experience. Here's how you can replace your belt buckle with ease and style.
What You’ll Need for Replacing a Belt Buckle

Before jumping into the process, it's crucial to have the right tools and materials on hand. Having everything you need before starting will save time and ensure you can smoothly follow the steps.
Tools and Materials:
- New Belt Buckle – Make sure the replacement buckle matches the width and design of your belt.
- Screwdriver – Typically, you'll need either a flathead or Phillips screwdriver, depending on the fastening mechanism of your belt.
- Leather Punch (Optional) – In case you need to punch new holes in the belt for the new buckle's prong.
- Sharp Scissors or Utility Knife (Optional) – If you need to trim the belt for a better fit.
The first step to successfully replacing a belt buckle is having the appropriate buckle. The buckle should match not only the width of the belt strap but also the intended style. For example, if you're switching a formal buckle for something casual or vice versa, make sure the new buckle fits the belt's aesthetic.
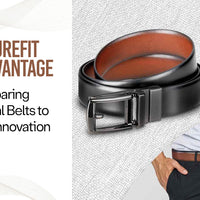
Also, Sure Fit Belt offers a wide range of customizable buckles and belts to ensure you find one that suits your style.
Step 1: Remove the Old Belt Buckle
Once you’ve gathered the necessary tools, the next step is removing the old buckle. Most belts with detachable buckles have screws, snaps, or quick-release mechanisms for easy removal.
Steps for Removing the Old Buckle:
- Identify the Fastener Type: Look at the back of the belt where it attaches to the buckle. Most often, belts use screws or snaps to keep the buckle secure.
- Unscrew or Unfasten: If it’s a screw, use your screwdriver to carefully loosen and remove it. For snaps, simply press them apart. If it's a quick-release buckle, you'll just need to unclip or slide it out.
- Detach the Buckle: Once the fastener is removed or undone, slide the buckle off the belt.
Pro Tip:
If your belt uses screws, be cautious when unscrewing them, especially if they’ve been in place for a long time. Use gentle force to avoid stripping the screws or damaging the leather.
Step 2: Attaching the New Belt Buckle
Now that your old buckle is removed, it’s time to attach the new buckle. Ensure the new buckle fits correctly and looks good with your belt before securing it. The following steps outline how to attach the new buckle depending on your belt's fastener.
Steps to Attach the New Buckle:
- Slide the New Buckle in Place: Insert the belt strap through the loop of your new buckle. Ensure the prong aligns with the belt’s existing holes.
- Secure the Buckle: If your belt has screws, reattach them using your screwdriver. Tighten them securely, but avoid overtightening to prevent damaging the leather. If using snaps, press the snap securely in place. For quick-release buckles, simply clip it on or slide it into position.
- Test the Buckle: Once the buckle is attached, try the belt on to ensure everything fits correctly and is secured. If needed, make slight adjustments to the buckle's position.
Pro Tip:
Double-check that the prong is functioning properly and the belt holes align. This will prevent any issues when you wear the belt.
Step 3: Punching New Holes (If Needed)
In some cases, the new buckle might not align with the existing holes in the belt. If this happens, you can easily punch new holes to ensure the prong fits. Using a leather punch tool is the most effective way to create clean, professional-looking holes.
Steps for Punching New Holes:
- Wear the Belt and Mark the Spot: Wear the belt with the new buckle and mark where the new hole needs to be using a pen or marker.
- Punch the Hole: Place the leather punch tool over the marked spot and press down firmly to create the hole. Make sure the hole size is appropriate for the buckle's prong.
- Test the Fit: After punching the hole, try the belt on again to ensure the buckle fits perfectly in the newly created hole.
Pro Tip:
If you don’t have a leather punch tool, you can use a sharp awl or other pointed tool. However, a leather punch will give you a cleaner and more professional finish.
Step 4: Trim the Belt (Optional)
If your belt is too long after attaching the new buckle, you can easily trim the excess leather. Trimming the belt ensures that it fits more comfortably and looks neater. Use sharp scissors or a utility knife to make clean cuts.
Steps for Trimming the Belt:
- Measure the Excess: Wear the belt with the new buckle, and pull it to a comfortable tightness. Mark where the belt needs to be cut.
- Cut the Excess: Using sharp scissors or a utility knife, carefully cut the belt at the marked spot. Ensure you make a clean, straight cut.
- Round Off the Edge: After cutting, round off the belt's edge for a polished look. You can also seal the edge with a bit of leather conditioner or wax to prevent fraying.
Why Replacing a Belt Buckle is a Good Idea
There are plenty of reasons why you might want to replace a belt buckle. Whether you’re aiming for a new look, fixing a damaged buckle, or simply want a change, replacing the buckle is a cost-effective and stylish option.
Benefits of Replacing a Buckle:
- Style Flexibility: Changing out your buckle gives you a chance to customize the belt to match your current style or wardrobe. You can switch between formal, casual, or unique designs.
- Extended Belt Life: If your belt is still in good condition but the buckle is worn or broken, replacing just the buckle can give the belt a second life.
- Cost-Effective: Rather than buying a new belt, replacing the buckle is an affordable alternative that can make an old belt feel like new.
- Customization: A new buckle allows you to express your personality and style in a subtle yet effective way. With a range of buckles available, you can choose a design that truly reflects your taste.
Types of Belt Buckles to Consider
When replacing a belt buckle, you have many options to choose from depending on your personal style and the belt's intended purpose. Here are some popular types of buckles to consider:
- Frame Buckles: A classic and versatile option, frame buckles are suitable for both casual and formal belts.
- Plate Buckles: Often decorative, plate buckles are ideal for making a statement with your outfit. These are commonly used for Western-style belts.
- Box-Frame Buckles: These buckles are known for their durability and are often seen on utility or military belts.
- Ratchet Buckles: Ratchet buckles offer a modern approach to belt fastening, allowing for small, incremental adjustments for a perfect fit every time.
Where to Find Quality Belt Buckles
If you're in the market for high-quality belt buckles or even complete belts, Sure Fit Belt is a great place to start. Their selection combines craftsmanship and style, ensuring you find the perfect match for your needs.
Conclusion: Elevate Your Belt Game with a Simple Buckle Replacement
Replacing a belt buckle is a quick and easy way to update your wardrobe without spending a fortune on a new belt. Whether you’re fixing a broken buckle, upgrading for style, or simply looking to refresh your belt collection, this guide covers everything you need to know.
With the right tools, a bit of patience, and a quality buckle, your belt can look better than ever. And for those looking for top-tier belts and buckles, Sure Fit Belt has got you covered.
By following these steps, you’ll have a new belt buckle in no time, adding both function and fashion to your favorite accessory.
Read More Articles:

